I must apologize for taking so long to get back to this blog. For the past two weeks it has been absolutely crazy around the house. I will try to catch you up. Buckle up it is going to be a bumpy ride.
First, my husband was sick with a cold and a sinus infection. Then, just because he loves me so much and wanted to share, he gave it to me. I do believe it made me feel worse than I did when I had the flu. It took me out of the game for over a week. All I did was sleep. When I did wake up it was just to take more meds, get something to drink and then back to bed. I had to make a trip to the doctor to get antibiotics to get over it. It was yucky!
I am not sure what the weather has been like where you are, but here in Gadsden, Alabama, it has been manic. It will be nice and fairly warm one day, and then it will go down to single digits and water pipes all over town will bust. Some businesses will be closed, schools will open late. It is really bad on those warm days when the pipes defrost and flood yards, or even worse when it busts inside and floods the rooms inside. My house has suffered with this problem too.
Twice in the past two weeks we have had water pipes freeze and bust. I have murdered three electric heaters so far this winter just trying to keep warm. So, it has thrown me behind on everything from cleaning to cooking to staying warm.
We have had to go Mom's to get showers and do laundry, just so we could have enough clean clothes to get us through the weekend while we tried to conquer these repairs. This weather has thrown a monkey wrench into everything.
When I heard the weather man predicting the coldest weather this upcoming week in the history of Alabama, I made the executive decision to do something about our situation. I was tired of not having water, of freezing, and dealing with a dirty house. Do we need to even discuss the fact that my power bill tripled from running electric heaters?
I planned to install propane heaters in the house and use this to heat with. Originally the plan was to install two propane burning heaters in the house. One in the kitchen and one in the living room. We had to get the water pipes fixed and do some weather proofing. Plus, I wanted to put the bedroom into what is now the living room to try to cut down on the square footage we were trying to heat.
Saturday morning we planned to go to storage, get our propane heaters out, the 2 -100 pound tanks, mounting brackets, etc, and go fill up the tanks at a local gas dealer . Go by Lowe's and get our copper pipe, fittings, and supplies and have heat by the evening. In the meantime, hopefully our pipes would defrost and we could take care of the water repairs after we got the heaters installed.
Wouldn't you know it, nothing ever works as planned. We head over to Mom's for a shower before we get started & to get my Dad to help us with the installation of the heaters. For those of you that can afford it, go ahead and call a plumber for the water pipes and the gas company to run lines. In my case, we cannot afford that so we call someone older and wiser than we are on the subject. Especially, when it comes to things that can be very dangerous (such as propane or electrical problems).
Dad & I are getting ready to leave to go do the shopping, while my husband grabbed the gas tanks to go have them filled. We decided to divide and conquer to get everything knocked out quicker.
Before Dad & I could leave, I got a call from work and had to drop everything I was working on to run deal with a problem there. Thankfully, it did not take but about an hour and soon I was back on track to getting things done, back to the house to get Dad and on to Lowe's. I spent over $120.00 buying things to get the heater installed and weatherproofing materials.
Of course, they didn't have a lot of things we needed. They were sold out because it seemed that everyone in town had the same idea that I had. On our way to the car to leave, we were planning our next stop to pick up the remaining items we needed when his phone rang. It was Mom, they had a leak at their house and it was flooding the yard. So I had to rush him back home so he could try to repair his water problems. He was hoping it would be a quick fix, but of course it wasn't. It took him until dark to get it fixed. This put installing my heaters on the back burner. My uncle was going to help my Dad work on his busted water pipes. So, I was free to move on to the next challenge.
In the meantime, my husband had been to have the tanks filled only to discover that our tanks were out dated and would have to be sent off for 4 - 6 weeks to be retrofitted. This was going to cost us an additional $40.00 per tank. We had to have heat, and buying a new tank was not in the budget, but he went to the bank, did a little juggling and managed to get a small personal loan just in time to get to the only store in town that was open that sold the tanks and get it back to the gas company 10 minutes before they closed.
My husband and I decided to meet up and go out together to see if we could go to the other stores to find the remaining items we needed to get the heater installed and try to find the things we needed to fix our water pipes. After hitting two more home improvement stores to try to find all we needed, we finally were able to go back home. He tracked down the leak and started to work on it. I started inside the house trying to clean up and straighten up so that they would have plenty of room to install the heaters the next morning. By this time, it was dark and I knew that getting heaters intalled was not going to be feasible. It would have to wait until the next day.
It wasn't long after we got home until Robby (my hubby) was able to get the water leak fixed. We were happy! We had water again! YAY! Then, it wasn't long until we discovered that the toilet was running nonstop and every time we turned the water on in the kitchen the spray nozzle spritzed water all over the counter and whoever happened to be in front of the sink. Almost every occassion it was me. Oh goodie! More repairs demanding attention and requiring money we had not budgeted for. Stress and frustration mounted by the second. Robby calmed me down a little by reminding me that he had borrowed a little from the bank, and still had some left so we would be ok. These problems would just have to wait (like the installation of the heaters) until Sunday. I gave up. I went to bed and prayed that Sunday would be a better day.
Monday, January 27, 2014
Friday, January 17, 2014
Make Your Own Instant Oatmeal and Save Money!
Make your own instant oatmeal!

Use a cannister of quick oats. Measure out 1/4 cup of oats into snack size bags. Grab a pack in the morning and treat it the same way you would instant oatmeal. Add water to a bowl and pour in the quick oats. Pop it in the microwave for about 2 minutes and Voila! Your breakfast will be ready before you have had time to get dressed in the morning.
My cannister of quick oats yielded 22 bags and cost me about $2.00 including the bags. This equaled out to around $0.09 per bag

I was very proud of myself a couple of weeks ago. I thought I was saving quite a bit of money (and even bragged in a blog about it) by having my instant oatmeal for breakfast. I thought I was doing awesome by cutting my breakfast budget down below $0.25 until, my daughter showed me this trick.
I eat oatmeal 4-5 times a week for breakfast. It's nutritious, low in calories and low in cost.
This trick of my daughter's is going to save me quite a bit over time. I just had to pass along this helpful hint.
Thursday, January 16, 2014
Laundry Tip: Make Liquid Fabric Softener Last Longer
I have just the solution for you! This simple tip will make any liquid fabric softener last at least 4 times longer and your clothes will still have that same wonderful smell and no static electricity.
Buy yourself a couple of packs of sponges. I found mine at Dollar General for $2.00 each. While I was at it, I went ahead and bought a new bottle of liquid fabric softener for $3.00. (I don't typically use fabric softener because the powdered laundry soap I make has Purex Crystals in it, eliminating this need for me. But, it is nice to have on hand for if/when I decide to use it.)


When you start a load of laundry, use one small sponge per load. Squeeze out excess liquid and place in your washing machine with your dirty laundry. When the washing machine finishes, put laundry AND sponge into dryer. After dryer finishes, place small sponge back into the container to re-use.
Eventually, the liquid fabric softener will be used, just refill container with fabric softener remaining in original bottle. You will be so surprised at how much longer this will make one bottle of fabric softener last!
My bottle stated that it was a 40 load bottle (which would last me about a month if I followed the instructions on the bottle). I only used 3/4 of the bottle filling my container. I had 52 sponges to start off. They will be recycled over and over again. I am predicting this one 40 load bottle will last me around 6 months, if I wash on average one - two loads of clothes per day.
Wednesday, January 15, 2014
Easy Way to Keep Your Shower Clean

Open it and pour two tablespoons of dishwashing liquid in. Fill the remainder with vinegar.
This is what it will look like once you have finished filling it.

Tuesday, January 14, 2014
How to Clean Your Stove Top For Less Than $1.00
I have one of the oldest (& dirtiest) stoves known to mankind. It is so disgusting that I have been threatening to trade it in on a new one! (I just can't afford it yet!) I have to make do with it. I am just tired of it looking like I pulled it out of the county dump. I have tried all sorts of cleansers and nothing really works. Oh, it might take off a little, but nothing like I want it to. I have even tried Easy Off oven cleaner with no success. I thought after my success with the oven, I would try to tackle this.

Believe it or not, I actually washed over it with hot, soapy water just before I took this picture. I am so embarrased but before I show you the after photo, I wanted you to see what it looked like before.
The first thing I tried was a paste made with baking soda and peroxide.


It definitely looked better. You can tell it worked. My stove top was just so bad, that it would not get it all. If your's is not as bad as mine was, this is probably all you need to get yours sparkling clean.
Because my stove was so stained and had at least 100 years (I may be slightly exaggerating, but it certainly felt like it as I was cleaning it) of grease built up on it, I had to keep trying.
I remembered the mixture I used to clean my oven, and thought about giving it a shot.
I brought a pot of water almost to a boil on the stove. I did this for two reasons. First to heat up the stove top, and second to get my water as hot as I could stand it.

I poured the hot water into a cleaning bucket and added two tablespoons of dishwashing liquid.

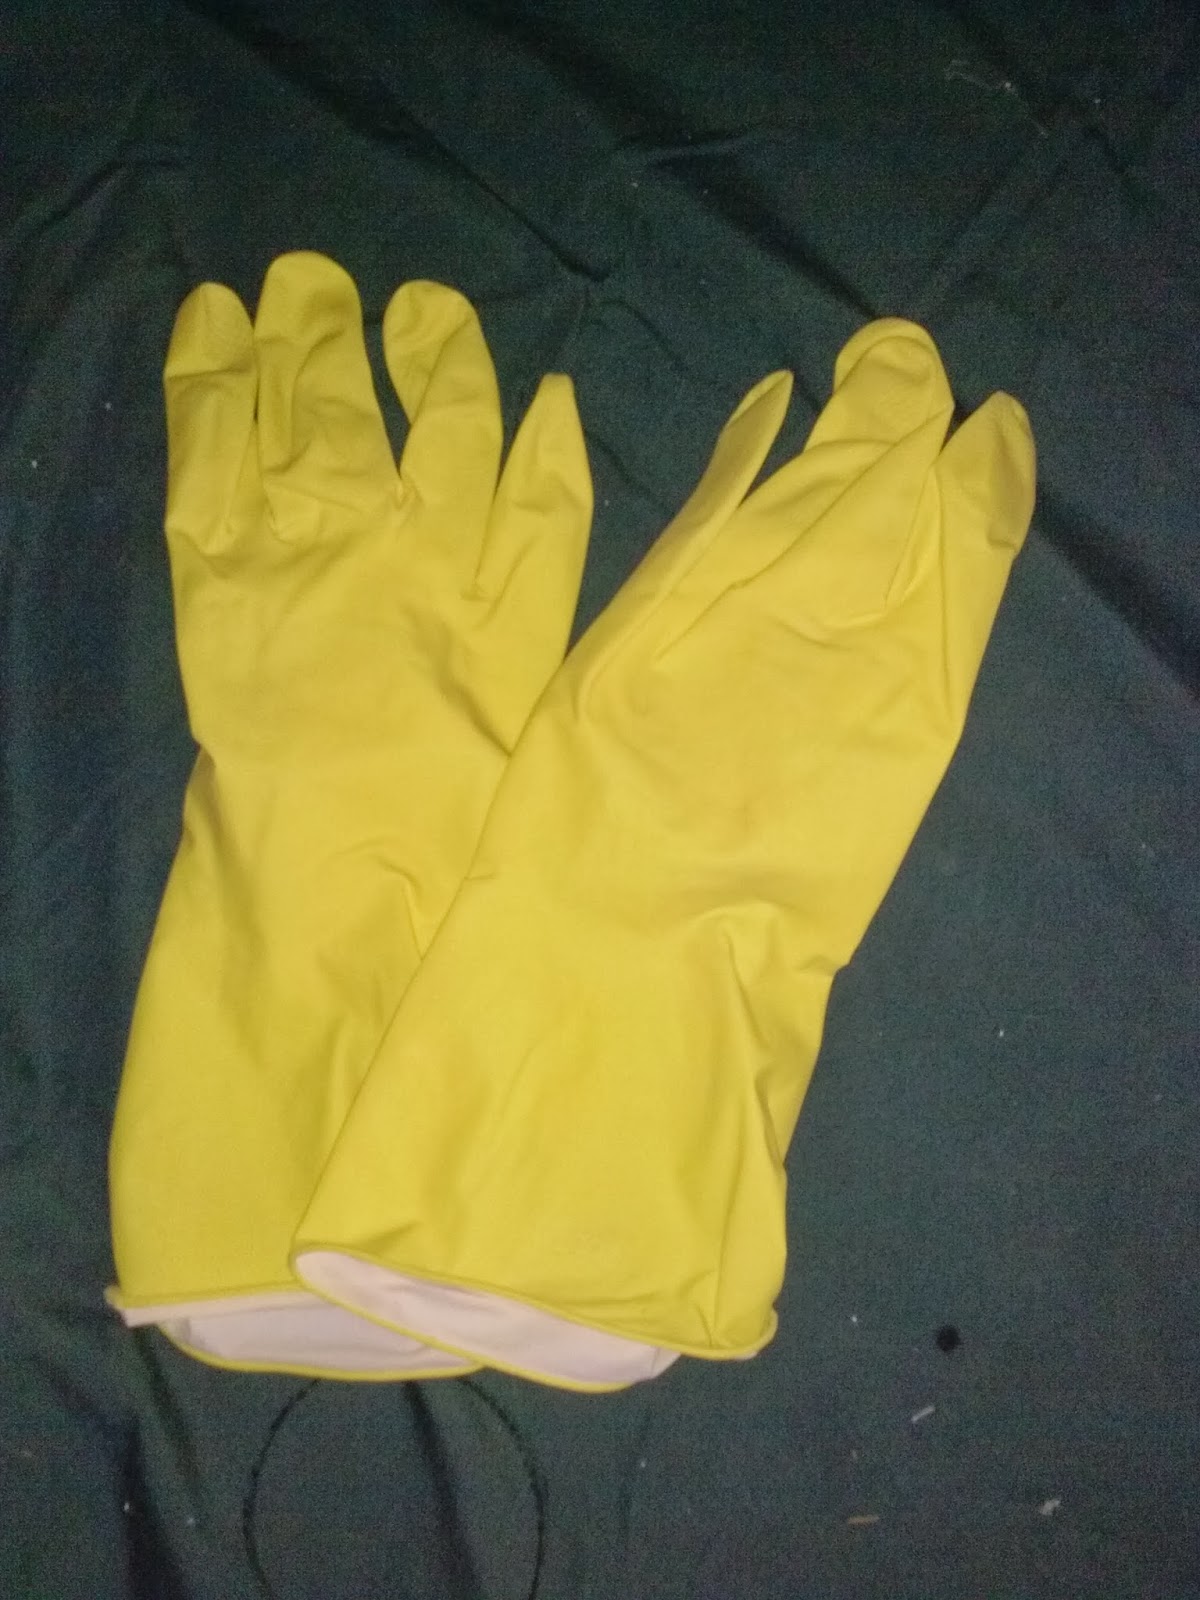
Pulled out my rubber gloves,


This is the final result.

Monday, January 13, 2014
How to Clean Your Oven for Less Than $1.00
I have an old second oven. I have tried everything to get it clean. No matter how hard I tried it just would not come clean. Until, I tried this simple solution. Here is the before shot. (Hanging my head in shame)

I started the cleaning process the night before. I put the oven on the lowest temperature setting. For my old oven, it was 200 F. While my oven was heating, I put a pot of water on the stove top to heat up. Make sure your pot does not have a plastic handle. You will be putting this in the oven.

The entire bottle of Ammonia was $1.99. I used only about 1/3 of the bottle.


I started the cleaning process the night before. I put the oven on the lowest temperature setting. For my old oven, it was 200 F. While my oven was heating, I put a pot of water on the stove top to heat up. Make sure your pot does not have a plastic handle. You will be putting this in the oven.

As the water was coming to a boil, I poured lemon scented Ammonia into another oven safe pot (around 1 1/2 cups).


When the water came to a roaring boil, I turned off the oven. Then, I placed the pan of boiling water on the bottom rack of my oven. I put the ammonia on the top rack. Closed the oven door and went to bed.
The next morning, I opened the oven door, let it air out for about 15 minutes, put the pot of water back to heating on the stove.
I removed the ammonia and set it to the side while I removed the oven racks.
Next I added, 2 tablespoons of dishwashing liquid to the ammonia.

Once the water was hot again, I poured it into a wash pan with the ammonia and dishwashing liquid mixture.
Next, I found my trusty rubber gloves. Please make sure you wear gloves if you try this. Ammonia can be harmful to your skin.
Now, it was time to start the cleaning. I used an old cut up bath towel to wipe out the oven with. There were some really bad places that I had to use a stainless steel scrubbie on. Once I had the oven as clean as I thought it would get it, I used fresh hot water and a clean cloth to rinse it.
Here is what the oven looks like now.

BIG difference from the before shot! (Grinning from ear to ear! So proud of myself!
Friday, January 10, 2014
Sandwich Bag Organizational & Storage Tip

To store those sandwich or storage bags out of the way and still keep them handy, use push pins to pin them onto the inside of a cabinet door. In this case, they were pinned to the inside of a pantry in a tiny space between the door frame and shelves. This idea will free up cabinet space for other items. Absolutely love this idea and it works great!
Subscribe to:
Posts (Atom)