Showing posts with label home. Show all posts

Thursday, January 16, 2014

Laundry Tip: Make Liquid Fabric Softener Last Longer

Love the way liquid fabric softener leaves your clothes smelling? Hate the price and having to buy it every time you turn around? Have you tried skipping buying it only to have to deal with all of that static electricity? Well... that is no fun either.

I have just the solution for you! This simple tip will make any liquid fabric softener last at least 4 times longer and your clothes will still have that same wonderful smell and no static electricity.

Buy yourself a couple of packs of sponges. I found mine at Dollar General for $2.00 each. While I was at it, I went ahead and bought a new bottle of liquid fabric softener for $3.00. (I don't typically use fabric softener because the powdered laundry soap I make has Purex Crystals in it, eliminating this need for me. But, it is nice to have on hand for if/when I decide to use it.)

I cut my sponges in half length-wise and then in half across the middle, getting four small sponges out of each sponge I started with. This gave me a total of 52 small sponges.

I put all of the little sponges into a container I had on hand. I recycled an old, plastic snack tub. You can use a plastic coffee can, or any other container you would like. Plastic or glass is best.

Then, I simply poured the liquid fabric softener over the sponges until the liquid fabric softener was about 2 inches from the top. I was only able to pour about 3/4 of my new bottle of liquid fabric softener into my container. This gives me more to refill my container as I use it up.

 Next, you will need to label your container. I always put the name of what is in the container and the date on mine so I can see just how long it lasts. 

Directions for use:
When you start a load of laundry, use one small sponge per load. Squeeze out excess liquid and place in your washing machine with your dirty laundry. When the washing machine finishes, put laundry AND sponge into dryer. After dryer finishes, place small sponge back into the container to re-use.

Eventually, the liquid fabric softener will be used, just refill container with fabric softener remaining in original bottle. You will be so surprised at how much longer this will make one bottle of fabric softener last!

My bottle stated that it was a 40 load bottle (which would last me about a month if I followed the instructions on the bottle). I only used 3/4 of the bottle filling my container. I had 52 sponges to start off. They will be recycled over and over again. I am predicting this one 40 load bottle will last me around 6 months, if I wash on average one - two loads of clothes per day.

Wednesday, January 15, 2014

Easy Way to Keep Your Shower Clean

If you are looking for a super easy way to keep your shower clean all you need is these three things.
Take the cardboard off of your scrub brush. I bought mine new at Dollar General for $2.00. This type opens at the bottom of the handle.

Open it and pour two tablespoons of dishwashing liquid in. Fill the remainder with vinegar.

This is what it will look like once you have finished filling it.

Now, hang it in your shower for easy access. After each shower, before you get out, use the scrubber to wipe down the walls and tub. Use your shower to rinse the scrubber and your shower. Now, your shower will be clean the next time you use it. So simple! So easy! You will never have to scrub and break your back cleaning your tub and shower again! 

Tuesday, January 14, 2014

How to Clean Your Stove Top For Less Than $1.00

I have one of the oldest (& dirtiest) stoves known to mankind. It is so disgusting that I have been threatening to trade it in on a new one! (I just can't afford it yet!) I have to make do with it. I am just tired of it looking like I pulled it out of the county dump. I have tried all sorts of cleansers and nothing really works. Oh, it might take off a little, but nothing like I want it to. I have even tried Easy Off oven cleaner with no success. I thought after my success with the oven, I would try to tackle this.

EWWW!!!
Believe it or not, I actually washed over it with hot, soapy water just before I took this picture. I am so embarrased but before I show you the after photo, I wanted you to see what it looked like before.

The first thing I tried was a paste made with baking soda and peroxide.
I just poured the box of baking soda in a bowl and slowly added hydrogen peroxide until it made a paste. Then I coated the stove top with it and left it alone for about 30 minutes. After I wiped all of the baking soda paste off, I rinsed the stove top with hot water. These were my results.


It definitely looked better. You can tell it worked. My stove top was just so bad, that it would not get it all. If your's is not as bad as mine was, this is probably all you need to get yours sparkling clean.

Because my stove was so stained and had at least 100 years (I may be slightly exaggerating, but it certainly felt like it as I was cleaning it) of grease built up on it, I had to keep trying.

I remembered the mixture I used to clean my oven, and thought about giving it a shot.
I brought a pot of water almost to a boil on the stove. I did this for two reasons. First to heat up the stove top, and second to get my water as hot as I could stand it.


I poured the hot water into a cleaning bucket and added two tablespoons of dishwashing liquid.


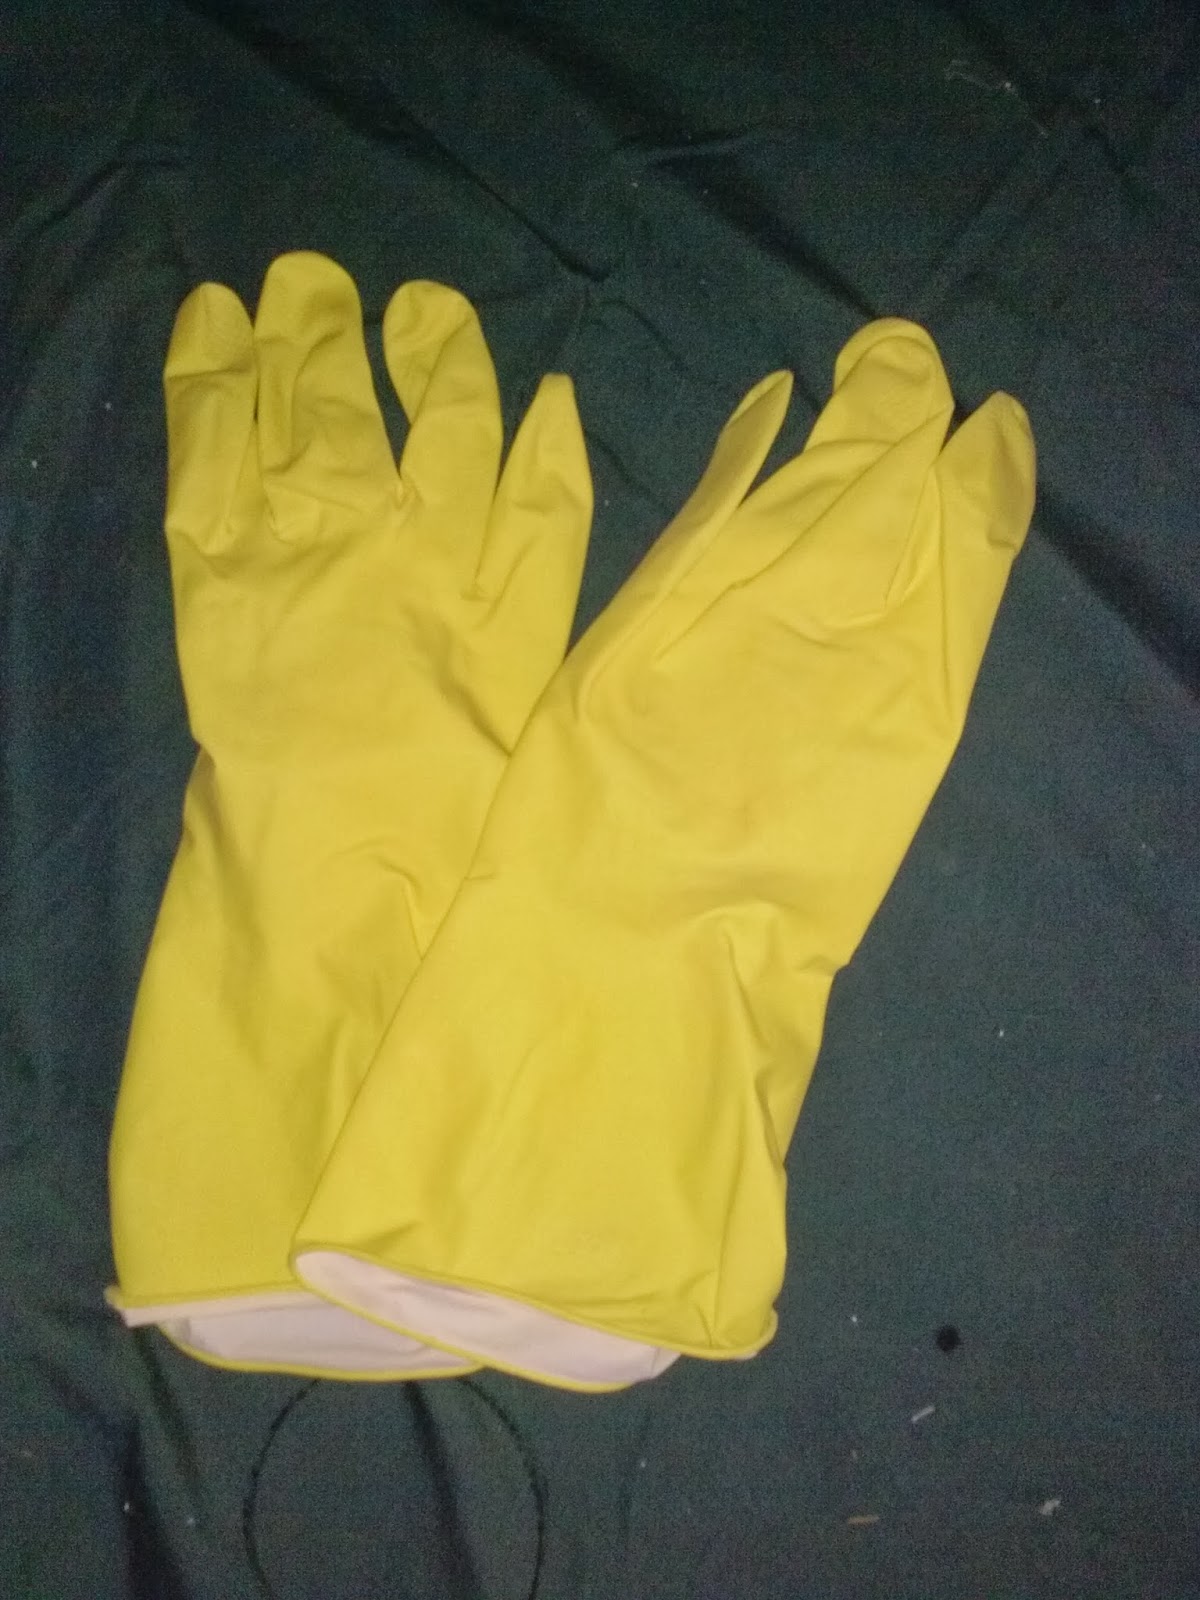
Pulled out my rubber gloves,

And, added 1 1/2 cups of lemon scented ammonia to the mix.

I used an old rag to wash off the stove top. There was a tiny bit of steam because of the hot water and hot stove top. I was able to stand it without difficulty. I used a stainsless steel scrubber around the edges of the eyes to try to get the old, cooked on grease off. After about 30 minutes of wiping and scrubbing, I gave up.
This is the final result.


It still did not get off everything, but I have never seen it look this good. This is a stove I can live with while I am saving my pennies to buy a new one. (Patting myself on the back for a job well done!) Try it for yourself and see how good your stove top can look!

Monday, January 13, 2014

How to Clean Your Oven for Less Than $1.00

I have an old second oven. I have tried everything to get it clean. No matter how hard I tried it just would not come clean. Until, I tried this simple solution. Here is the before shot. (Hanging my head in shame)
 

I started the cleaning process the night before. I put the oven on the lowest temperature setting. For my old oven, it was 200 F. While my oven was heating, I put a pot of water on the stove top to heat up. Make sure your pot does not have a plastic handle. You will be putting this in the oven.


As the water was coming to a boil, I poured lemon scented Ammonia into another oven safe pot (around 1 1/2 cups).
 The entire bottle of Ammonia was $1.99. I used only about 1/3 of the bottle.

When the water came to a roaring boil, I turned off the oven. Then, I placed the pan of boiling water on the bottom rack of my oven. I put the ammonia on the top rack. Closed the oven door and went to bed.
The next morning, I opened the oven door, let it air out for about 15 minutes, put the pot of water back to heating on the stove.
I removed the ammonia and set it to the side while I removed the oven racks.
Next I added, 2 tablespoons of dishwashing liquid to the ammonia.

Once the water was hot again, I poured it into a wash pan with the ammonia and dishwashing liquid mixture.
Next, I found my trusty rubber gloves. Please make sure you wear gloves if you try this. Ammonia can be harmful to your skin.


Now, it was time to start the cleaning. I used an old cut up bath towel to wipe out the oven with. There were some really bad places that I had to use a stainless steel scrubbie on. Once I had the oven as clean as I thought it would get it, I used fresh hot water and a clean cloth to rinse it.
Here is what the oven looks like now.


BIG difference from the before shot! (Grinning from ear to ear! So proud of myself!

Friday, January 10, 2014

Sandwich Bag Organizational & Storage Tip


To store those sandwich or storage bags out of the way and still keep them handy, use push pins to pin them onto the inside of a cabinet door. In this case, they were pinned to the inside of a pantry in a tiny space between the door frame and shelves. This idea will free up cabinet space for other items. Absolutely love this idea and it works great!

Tuesday, January 7, 2014

DIY Citrus Rosemary All Purpose Cleaner

Do you need a great all purpose cleaner to use around your house? I have an all natural cleaner for you. It only has 3 ingredients so it is simple and easy to make. You probably have all of the ingredients on hand, so why not give it a try?

Start off with oranges. I still had plenty on hand from the holidays. Instead of throwing those peels away, I had the family save them. I put those in a recycled plastic mayonnaise jar.


Orange peelings contain citrus essential oil which is a natural solvent. It will cut through grease and grime and is great to clean those really tough jobs, like the stove top.

I poured vinegar over the peels and this is what it looked like.


Vinegar is a natural bi-product of fruit, vegetables and grains. It kills bacteria, mold, and germ causing viruses.

I added a few sprigs of dried rosemary.


Rosemary is a natural disinfectant and a natural air freshener. As a bonus, the aroma is known to have properties that stimulates brain function that will aid in mental clarity and increased memory. It is also a stress reliever and promotes relaxation.

When the rosemary was added to the orange peel/vinegar mixture it looked like this.


The Citrus Rosemary Cleaner starter is now complete. All it needs is a label with date and time to wait.


Place the jar in some place out of the way. Let it steep for about 30 days. Shake the jar every few days to stir contents. Then, strain the liquid and pour into a spay bottle. Place rosemary and peelings back in the jar. Fill with vinegar to start your next batch of cleaner.

This cleaner is non-toxic, all natural, biodegradable, and environmentally friendly.

Monday, January 6, 2014

Vertical Shower Organization Plus a Bonus Storage Solution

Do you have a lot of shampoo, conditioner, body wash etc., in your shower? If you are like me, I am forever knocking something over (hoping it doesn't spill when it crushes my toes). I have found out the hard way that yelling and saying things I shouldn't to those bottles does absolutely no good.

I have to give my Mom a 'that-a-girl'. She came up with this genius solution to the problem.


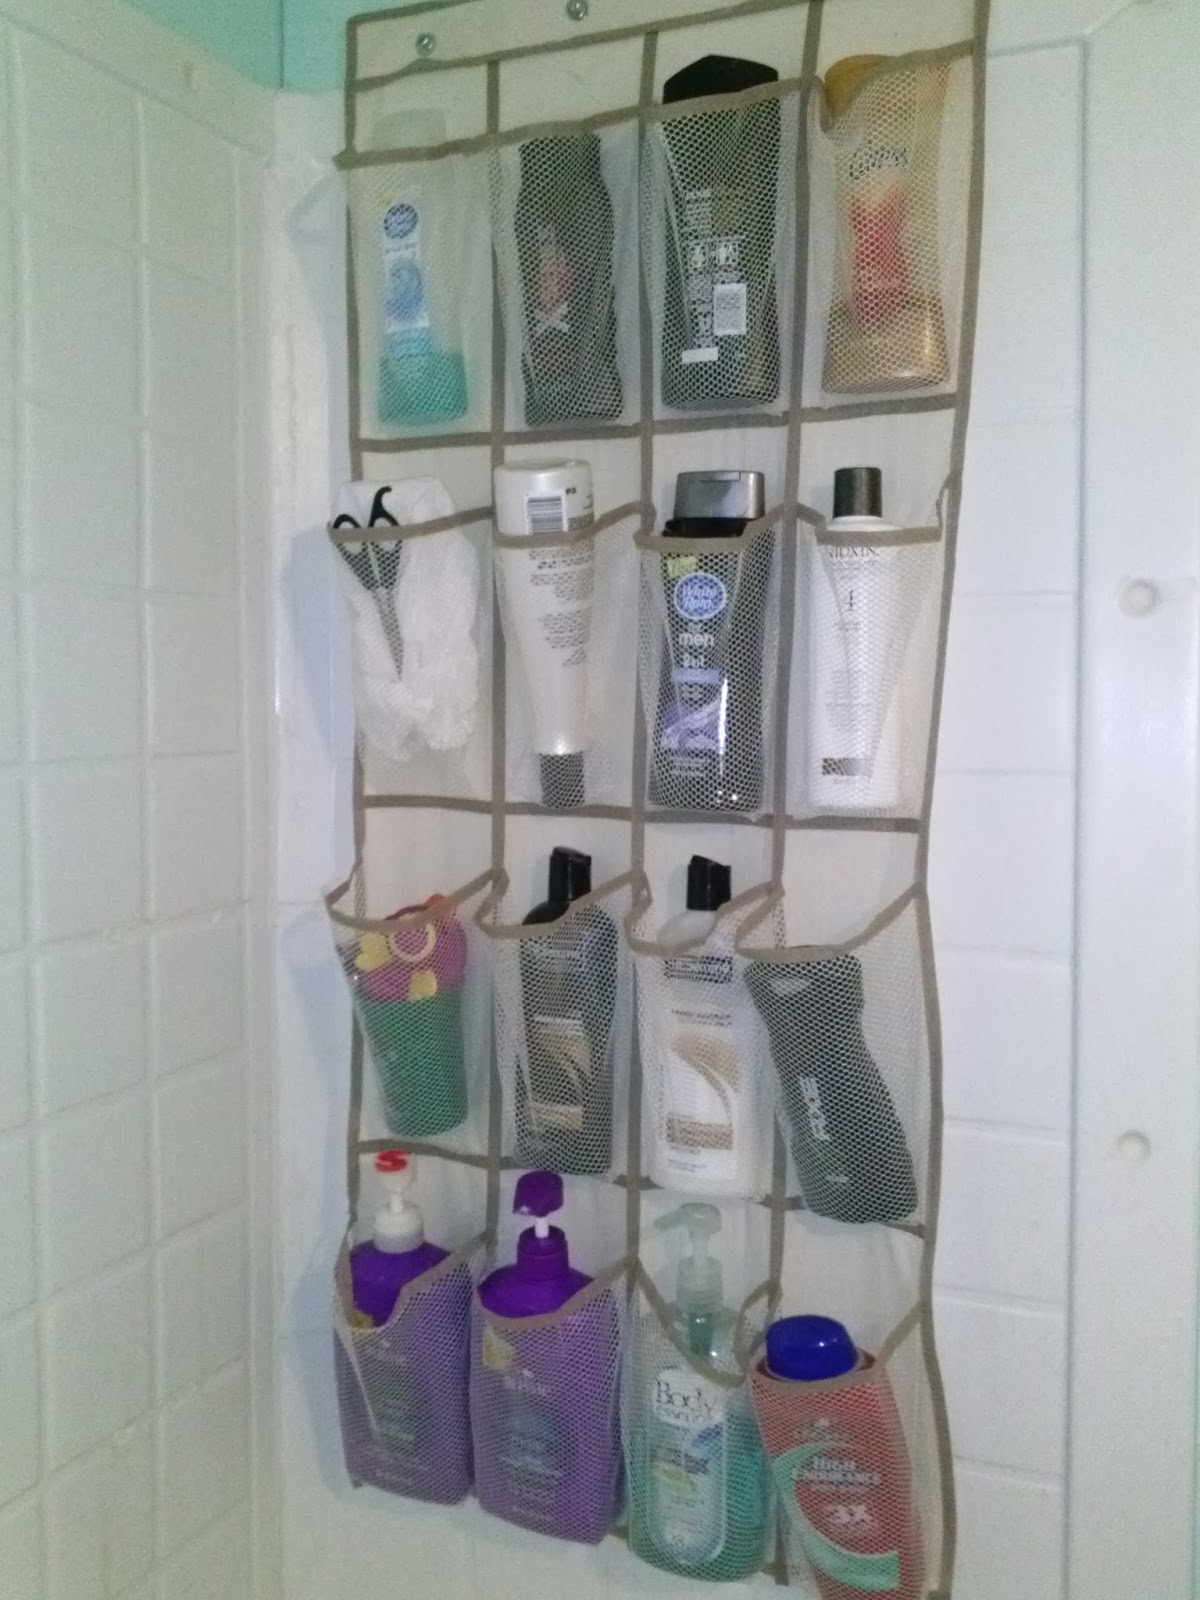
She tacked up a shoe organizer in the back of her shower. It cleared the edge of the tub of body washes and hair products. All of the bottles fit in it nicely and nothing can tip over and spill or fall and crush tender toes. She even has a place to store other things you might need in there as well. You are able to see each item through the mesh. This was a great idea, Mom!

When she measured it to see if it would fit, she discovered that it was too long. She cut off a couple of rows and turned the excess into a mail organizer.


This trick solved another organizational problem she had of sorting each person's mail without having stacks of mail all over the table. She attached it to the wall in the hallway across from the bathroom so each person that has mail is sure to see it. She used push pins to secure it to the wall.

This would be a great office organizer too!

Way to go Mom! Twice the organization out of one item!